

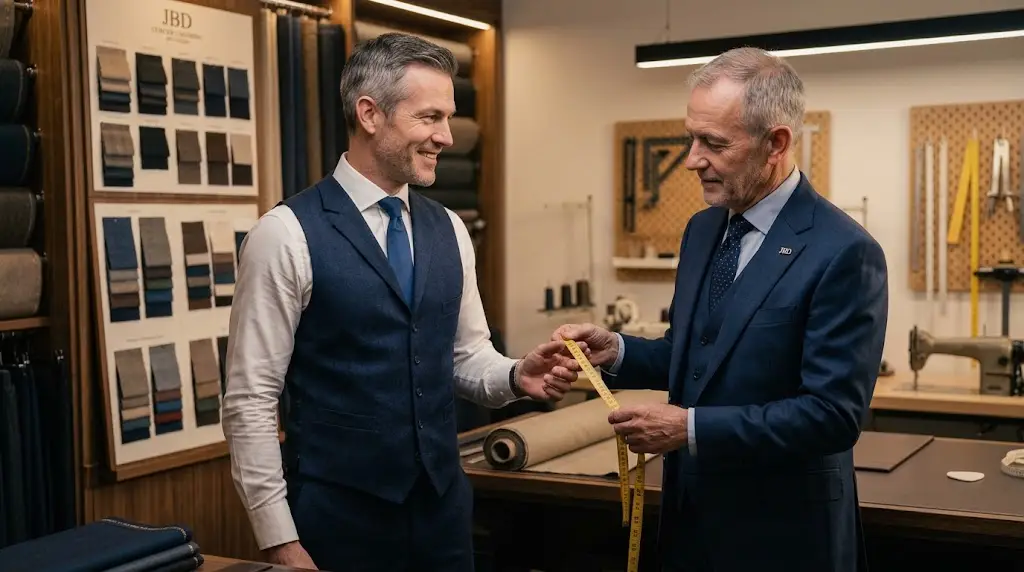
You ordered a suit online. It arrived. The sleeves hang 2 inches past your wrist. The chest pulls across your shoulders. The waist gaps open when you sit down.
You paid $400. Now you’re paying another $100 for alterations—and the tailor says the shoulder seams can’t be fixed. So you own a suit that doesn’t fit, and it doesn’t feel right.
This is the off-the-rack trap. Standard sizes are built for an “average” body that matches almost nobody. Custom clothes don’t have this problem. Because they’re built from YOUR measurements.
At JBD Clothiers, we’ve measured and tailored over 500 custom clients. The most common mistake? People rush the measurement process. They guess. They measure over clothing. They pull the tape too tight.
This guide walks you through every measurement step-by-step—and explains why each one matters. Follow it carefully, and your custom suit will fit like it was made for you. Because it was.
Why Accurate Measurements Matter More Than You Think
Off-the-rack suits come in standard sizes: S, M, L, XL. A “Large” is averaged across thousands of men with completely different body shapes.
Result? Compromises in every dimension. Too loose here. Too tight there. Sleeves never fit right.
Research from the American Society of Tailors emphasizes that precision measurement is the foundation of proper suit fit. Custom suits built from exact measurements eliminate fitting issues that plague off-the-rack garments.
Custom suits are built from YOUR exact measurements. Your chest. Your sleeve length. Your waist. Your inseam. The suit molds to your frame, not the other way around.
What You’ll Need Before You Start
Gather these tools:
- Measuring tape (cloth/flexible, not rigid)
- Thin, well-fitting shirt
- Mirror (to see measurement points)
- Notebook or phone to record numbers
- A second person (optional, but helps)
Critical: Stand naturally throughout. Don’t suck in your stomach. Don’t puff your chest. Measure your actual body, not the body you wish you had.
The Four Essential Suit Measurements (Step-by-Step)

These four measurements form the backbone of your custom suit—master them and everything else falls into place.
Step 1: Measure Your Chest (Most Critical)
This determines the overall width and volume of your jacket. This is your primary measurement.
How to measure:
- Wear a thin shirt (not baggy)
- Stand with arms relaxed at sides
- Wrap tape around your fullest point (under armpits, across chest)
- Keep tape snug but not tight—you should fit one finger underneath
- Record to nearest 1/2 inch
Why this matters: A 40-inch chest measurement gets 2-3 inches of ease built in (for movement). Off-the-rack doesn’t distinguish between a muscular 40″ and a soft 40″. Custom tailoring does.
Step 2: Measure Your Sleeve Length (Most Commonly Messed Up)
Sleeve length determines how far the jacket cuff extends down your arm. Get this wrong and nothing looks right.
How to measure:
- Relax your arm naturally at your side
- Start tape at center back of neck (bony point at base)
- Bring tape across shoulder down your arm to wrist
- Stop at your wristbone (not palm)
- This gives you your jacket sleeve length
Measuring alone? Measure shoulder point to wrist, then add 5-7 inches for neck-to-shoulder distance.
Why this matters: 1 inch too short looks boyish. 1 inch too long looks sloppy. Custom suits hit the exact length. Your dress shirt shows 1/2 inch below the jacket cuff—clean, professional, intentional.
Step 3: Measure Your Waist (For Fit & Comfort)
Waist measurement creates your suit’s silhouette—how tapered or relaxed it looks.
How to measure:
- Stand naturally, arms at sides
- Find your natural waist (narrowest point, usually at navel)
- Wrap tape snug but not compressing—one finger underneath
- Measure over thin shirt or bare skin (not over pants)
- Record to nearest 1/2 inch
Why this matters: A 40″ chest with 36″ waist creates shape. No suppression = boxy. Too much = uncomfortable. Custom tailors engineer the perfect balance for your body.
Step 4: Measure Your Inseam / Trouser Length
Inseam length determines how long your trousers are. This is non-negotiable for looking professional.
How to measure:
- Stand barefoot with feet together
- Start the tape at your crotch (inner junction of legs)
- Bring tape down inside of leg to your ankle
- Stop at ankle bone (not heel or arch)
- That’s your inseam
Why this matters: Trousers should have minimal break (just touching your shoe top). This is the only way to look polished. Custom suits get this right every time.
Additional Measurements (For Premium Fit)
Beyond the four essentials, tailors may ask for:
Shoulder Width: Shoulder point to shoulder point across back. Prevents pulling or excess fabric.
Neck Size: Around base of neck (one finger fits underneath). For shirt collar accuracy.
Rise: Waistband to crotch. Ensures proper trouser positioning.
Bicep Circumference: Fullest part of upper arm. Critical for athletic builds.
Thigh & Calf: For proper trouser taper through the legs.
Measurement Accuracy Checklist (Before Submitting)
✓ Tape is level (not twisting). Ask someone to verify.
✓ Tape is snug but not compressing. One finger fits underneath.
✓ You’re standing naturally. No flexing, puffing, or posing.
✓ Measurements recorded to the nearest 1/2 inch.
✓ You’ve measured twice. Readings should match within 1/4 inch.
✓ Measurements match your actual body today (not future aspirations).
Custom Suits vs. Off-the-Rack: The Measurement Difference
| Factor | Off-the-Rack | Custom (JBD) |
|---|---|---|
| Measurement | S, M, L, XL (averaged) | Your exact measurements |
| Fit Quality | Compromised (needs alterations) | Perfect from day one |
| Sleeve Length | Often 1-2″ off, requires fixing | Exact length (neck-to-wrist) |
| Cost | $200-600 + $50-150 alterations | $1,500-4,000 (no alterations needed) |
How Your Measurements Connect to Overall Suit Fit
Taking accurate measurements is step one. Understanding how those measurements translate into fit is step two.
After you’ve taken your measurements, ensure the suit fits properly: jacket shoulders align with your shoulder points, armholes allow unrestricted movement, waist suppression creates a clean silhouette, sleeves show 1/2 inch of shirt cuff, and trouser break is minimal (just kissing the top of your shoe).
Common Measurement Mistakes (and How to Avoid Them)
Mistake #1: Measuring Over Clothing
Bulky layers add 1-3 inches of false measurement. Measure over thin shirt only.
Mistake #2: Slanting the Measuring Tape
Keep tape level and parallel to ground. A slanted tape gives incorrect dimensions.
Mistake #3: Pulling Too Tight
Snug ≠ Tight. One finger should fit under the tape. Compressing your body ruins the fit.
Mistake #4: Measuring Your Aspirational Size
Measure your actual body today. Custom suits fit perfectly now. If you lose weight later, minor alterations are always easier.
Ready to Order Your Custom Suit?
You now have precise measurements. You’re ready for custom tailoring that actually fits. At JBD Clothiers, we take your measurements, source premium fabrics, and build your suit from scratch—engineered to your exact dimensions with full-canvas construction.
Frequently Asked Questions
Can I measure myself or do I need a tailor?
Self-measurement works fine if you follow this guide carefully. A second person helps (especially for sleeves). Our tailors can verify measurements during consultation if needed.
What if my measurements don’t match standard sizes?
That’s why custom suits exist. 38″ chest but 6’2″ tall? 42″ chest with 34″ waist? Custom tailoring solves this perfectly.
How often should I remeasure?
If weight is stable, measurements stay valid 2-3 years. Significant weight change (10+ pounds) requires remeasuring.
Should my measurements be different if I’m athletic or muscular?
No. Measure your actual body. Tailors adjust patterns for body type (larger armholes, bicep room, etc.).
What’s the difference between chest measurement and jacket size?
Chest measurement is your raw body dimension. Jacket size = measurement + 2-3″ ease (room for movement). 40″ chest = 42-43″ jacket.
Can I submit measurements via email?
es. Take measurements at home and email us “customerservice@jbdclothiers.com”. First-time customers benefit from a phone consultation to verify and discuss fabric and style.